20 years on the Hard

20 years on the Hard
A long way to go!

Tuesday, May 31, 2011

British Seagull

I bought a 1983 British Seagull Silver Century 4.5hp SN# ESC43GG3 and am contemplating installing a motor well to keep things neat and streamlined.
Any input or suggestions would be welcome. It looks like after lofting everything into cad that the concept is sound and fits well with the exception of not being able to use the mounted stock fuel tank. I'm not sure what it will take to make this Gull run from an external tank but I'm sure that it is but a minor challenge. Any ideas?

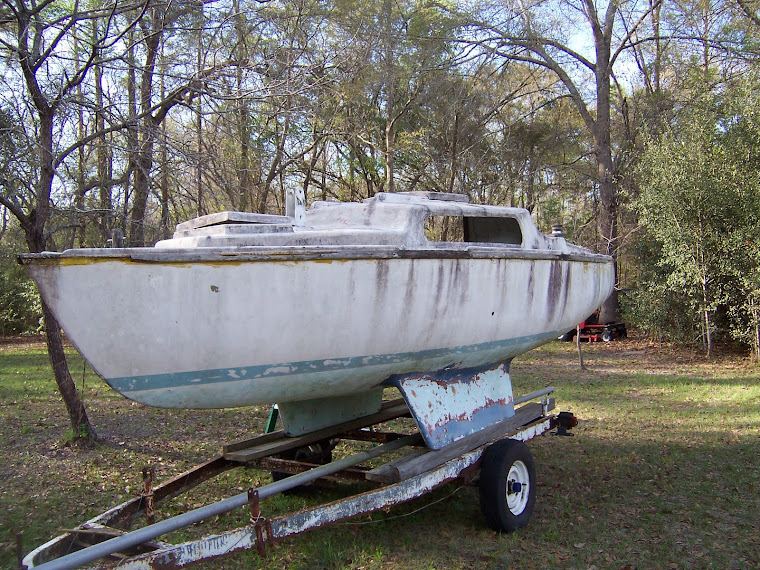
Interior demo is complete, next is grinding down the seams where all of the interior bulkheads were taped to the hull, pressure washing to remove all interior paint. I have removed the companionway hatch and am preparing it for resurfacing. The forward hatch has it's first coat of primer and has been wet sanded waiting for a second coat of primer . I'll get some more pics soon. 

Saturday, April 30, 2011

Forward Hatch


Boy that looks nasty!


This is the surface of the hatch, the gel-coat was completely rotted in several places and had to be completely removed before resurfacing.
An old repair that had used automotive bondo.


Same corner of hatch after much sanding, scraping, filling , sanding and filling again.
Still got a little way to go but almost there.

Inside of hatch with wood frame-work (all Mahogany) removed. I will be sanding frame-work down, staining, and epoxying it in place, then prime and paint all of the other surfaces.


The big picture, outside just needs a little fine tuning.

Transom Work

 Transom after I cleaned it up, and before resurfacing. Note the Gel-coat is burned through and missing in many areas.

 During resurfacing using West Marine surfacing putty.
 Pintle and Gudgeon and weathered mounting blocks.

After some work with a wire wheel and belt sander, then some red mahogany stain.
 Outboard motor mount rails (top) before sanding (bottom) after sanding.

 Mount rails after sanding and staining.

 Rudder had been repaired and encased in either epoxy or gel-coat.

 After sanding off previous repair. I will be using west systems epoxy to repair and clear coat this beautiful slab of mahogany.

Carefully picking out the filler that was used in the previous repair.

Fast Forward 17 years March 2011

 Britt has sanded off most of the paint down to (and through in spots) the original gelcoat.


 All of the deck hardware had been removed.

 Remnants of ribs that Dan had glassed in.

 She obviously held a great deal of water from time to time.


 Coaming is rough.

 Dig that Crazy Gel-coat.

 I didn't plan the con-trail coming out of the bow.


 Starboard wench.


 Rub Rail is history.

 Sampson Post is in pretty bad shape.


My Girl circa 1994


These pictures were taken after My girl had been hauled "on the hard" for about 2 years, interior had been removed completely and some bulkhead and rib replacement had been done by my friend Dan Burr. Alas the bulkheads and ribs were done in cheap non-marine grade plywood so did not survive. This color scheme, which she had when Britt and I bought her, proved to be only the last of three separate color schemes that were all layered on. Prior to the White/Yellow/Blue scheme have been painted Rust/Cream/Rust (yuck) and originally  White/White/Blue (w.l. stripe) /Light Blue